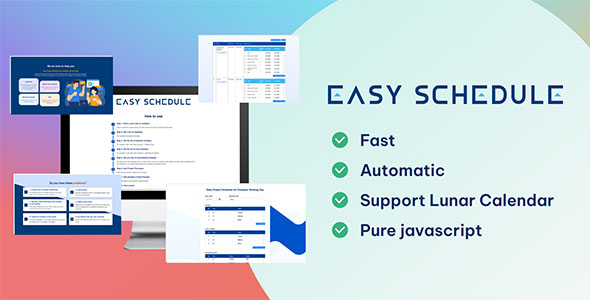


Easy Schedule is a user-friendly scheduling software designed to help you manage your appointments and tasks
seamlessly.
With its intuitive interface and customizable features, Easy Schedule makes scheduling and managing your time a
breeze.
With Easy Schedule, you can create and manage appointments, set reminders, and even delegate tasks to other team
members. Whether you are a small business owner, a busy professional, or a stay-at-home parent, Easy Schedule
can
help
you stay on top of your schedule and keep things running smoothly.
Some of the key features of Easy Schedule include:
– A user-friendly interface that makes scheduling and managing appointments a breeze
– Customizable settings that allow you to tailor Easy Schedule to your specific needs
– Enter and set annual holidays for the business calendar
– Support the lunar calendar
So what are you waiting for? Try Easy Schedule today and experience the benefits of a more organized and
efficient
schedule!
Step 1. Enter a start date to schedule
Enter the date the project started, then the first process will be started from that date.
Step 2. Set a list of Weekend day-offs
For example Saturday and Sunday.
Step 3. Set the list of calendar holidays
For example, New Year’s Day (January 1), National Day,…
Step 4. Set the list of lunar holidays
For example, Lunar New Year (January 1), Mid-Autumn Festival,…
Step 5. Set up a list of unscheduled holidays
The days when your company has an unusual leave, such as a company-wide holiday, the date of
the establishment of the company, or an incident that prevents the company from going to
work.
Step 6. Add Project Processes
Enter the processes to implement the project.
Step 7. Add phrases of each Process
Enter the steps to execute each project process.
Step 8. View results
The project schedule will be generated automatically, you can track the content on the
results sheet.
You have downloaded the Easy Project Schedule for Company Working Day content.zip file. When you
extract the contents you will find:
easy-project-schedule-for-company-working-day/
├── index.html
├── css/
│   ├── main.css/
├── js/
│   └──moment.js
│   └──timeline.js
│   └──main.js
This theme imports three Javascript files.
Place the script tag for our JavaScript bundle before the closing body.
https://ltdungrs.gitlab.io/easy-project-schedule-for-company-working-day/js/moment.js
https://ltdungrs.gitlab.io/easy-project-schedule-for-company-working-day/js/timeline.js
In body tag insert html:
<div id="main"></div>
Construction class:
let timeline = new Timeline();
Config the start time of the timeline:
timeline.init({
    start_date: "2022-11-25"
});
Config the Weekoff:
timeline.addWeekoff(0);
timeline.removeWeekoff(7);
Config the holidays in every years:
timeline.init({
    holidays: [{
        day: 15,
        month: 1
    }, {
        day: 1,
        month: 1
    }, {
        day: 30,
        month: 4
    }, {
        day: 1,
        month: 5
    }, {
        day: 2,
        month: 9
    }],
});
Config the holidays in every years by lunar calendar
timeline.init({
    lunar_holidays: [
        {
            day: 29,
            month: 12
        }, {
            day: 30,
            month: 12
        }, {
            day: 1,
            month: 1
        }, {
            day: 2,
            month: 1
        }, {
            day: 3,
            month: 1
        }, {
            day: 10,
            month: 3
        }
    ]
});
Config the non-cyclical day-offs:
timeline.init({
    custom_dayoffs: [
    {
        day: 28,
        month: 11,
        year: 2022
    },{
        day: 29,
        month: 11,
        year: 2022
    }]
});
Config all Timeline Processes and Phases:
timeline.init({
    projects: [{
        name: "Requirements analysis and definition",
        items: [{
            name: "Plan",
            time: 1
        }, {
            name: "Requirement elicitation",
            time: 2
        }, {
            name: "Requirement modeling",
            time: 3
        }, {
            name: "Interface sketch",
            time: 2
        }, {
            name: "Function description",
            time: 2
        }, {
            name: "Popular request and feedback",
            time: 1
        }, {
            name: "Document the Requirement",
            time: 1
        }]
        }, {
        name: "Planning",
        items: [{
            name: "Content plan",
            time: 1
        }, {
            name: "Design plan",
            time: 1
        }, {
            name: "Backend plan",
            time: 1
        }, {
            name: "Frontend plan",
            time: 1
        }, {
            name: "Test plan",
            time: 1
        }]
    }]
});
1.0.0 (22.03.2023)
initial release
Created: 22/03/2023
By: Amazing Code
Thank you for purchasing my theme. If you have any questions that
are beyond the scope of this help file, please feel free to email via my user page contact form
here. Thanks so much!